Using your own domain to send back-in-stock emails improves email deliverability and helps your messages land in customers’ inboxes instead of spam folders.
You can configure this by going to Back-in-stock Notification > Email Domain Settings tab.

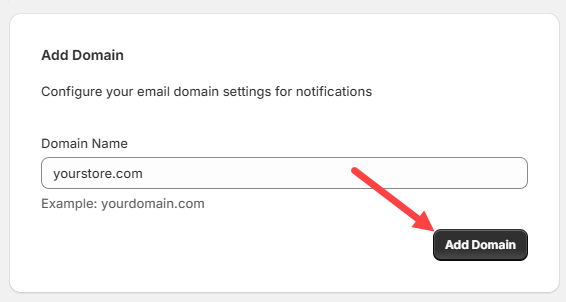
Then, type the domain you want to use (e.g., yourstore.com) in the Domain Name field, then click Add Domain button.
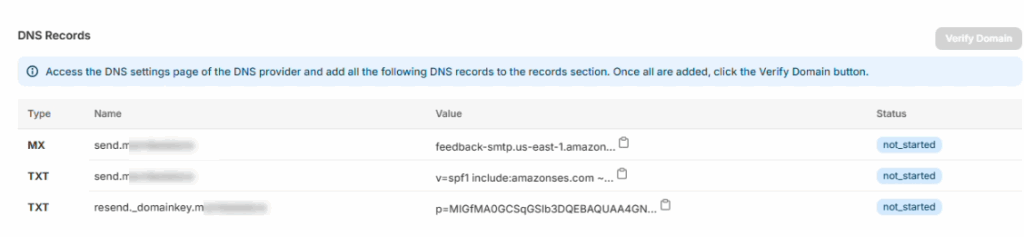
The system will then generate a list of DNS records in the DNS Records section that need to be added to your domain’s DNS settings. These usually include TXT, CNAME, or MX records.
Note
If you’re not sure how to add DNS records, check the official documentation of your hosting or DNS provider, or contact their support for help. This step must be done correctly to ensure email delivery works.
After adding the DNS records, return to the Email Domain Settings tab and click Verify Domain.
It can take a few minutes to several hours for DNS changes to update across the internet. Once verified, your email address will show as connected.
Why This Matters
Setting up a custom sending domain:
- Improves email deliverability
- Prevents your messages from being flagged as spam
- Aligns the emails with your brand for better customer trust
Once your domain is verified, your back-in-stock notifications will be sent from your custom email address, helping ensure customers see and open them.